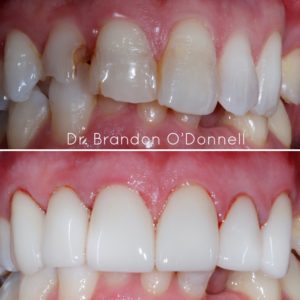
A 38 YO male patient came into the office with a chief complaint of “I would like my front teeth fixed and I heard you could do it in one day”. When hearing that, the pressure is on! After an initial evaluation, it became apparent he had not been to the dentist in a while. Several areas of decay were noted and hygiene was fair/poor. After speaking to him and explaining that the right thing to do is go through hygiene, caries control and then move to aesthetics he proceeded to tell me his work schedule and that time was of the essence. As practitioners, we have to make decisions daily and this was a tough one for me. Do you turn the patient away or do you make a life changing decision in hopes the patient becomes an “A” patient. We elected to try and convert him to an “A” patient.
The patient has a midline deviation, missing nu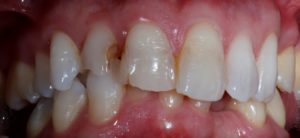 mber 6, and a cant from the patients right to left in the maxilla that he wanted corrected as well. The decision was made to take pre-op photos, scan diagnostic models and make a really nice wax up to bio-copy and fabricate emax crowns in office. Working out the cant in the wax up was key to this procedure going well.
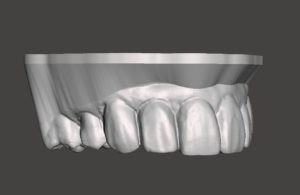
Prep day came and as we started preparing and using our matrix as a prep guide, it became very apparent that the wax up did NOT take the cant out. As preparation of the teeth continued, my thinking cap went on to figure out how to correct the problem chair side. When preps were completed we took upper and lower alginates with a stick bite so we could duplicate the maxillary discrepancy.
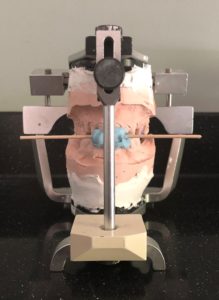
We poured the aliginates up in quick stone and mounted the models on a Denar articulator utilizing the stick bite to replicate the maxillary cant.

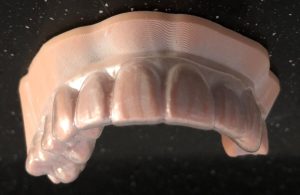
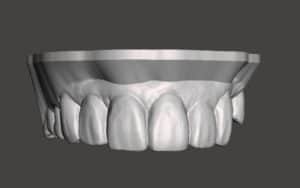
Temporary crowns were being fabricated chair-side for the patient, and temporaries were being fabricated in the lab on the stone model. Once fabricated on the mounted model it was possible to see the maxillary cant and mid-line deviation. Finishing burs were used to contour the lab fabricated temps to the correct plane and shape. The lab temps were taken back to the patients mouth, tried in, and immediately accepted by the patient and his wife. The patients temporaries that were fabricated to wear home were placed and he was reappointed for a later delivery appointment that worked with his busy schedule.
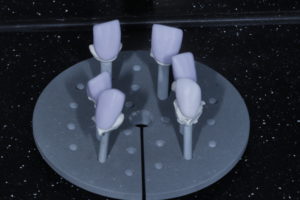
Once it was obvious that the contour and plane of the teeth were correct on the mounted models, we were able to bio-copy the temporaries on the mounted model. We then began fabrication of the patient’s new crowns.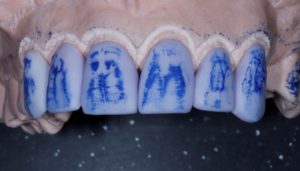
Delivery day came and the crowns were tried in. The patient and his wife were very excited. We checked the contacts and the bite and only made a few minor adjustments. We bonded the crowns in and cleaned up any cement that was around our margins. It is always great when your team hits one out of the park for patients.
The point of this post is to make sure we don’t forget where we came from and the things that make this digital world possible. We must know how to do analog work even in a digital world. There is always a solution to the problem. This is how all the pioneering dentist’s out there are moving us forward in the profession.